
Everyday Sourdough Bread
The sourdough bread you can easily make at home.

Your sourdough starter: Find a friend who makes sourdough creations, ask them to gift you a starter. I really had no clue on what I was doing with my starter at first, but after reading many recipes and ideas, I landed on a simple is best method.
Wendy’s Whey Sourdough Starter process
2-pint size Ball jars (1–with active starter, 1–clean for next day feeding)
King Arthur Flour
Spring Water
a scale (very important) to weigh ingredients
1 quart size glass jar (I use Ball Mason jars) for discard—keep for other recipes
feeding schedule (feed your starter daily, roughly same time each day—if possible)
Sourdough is your friend, a living culture you need to help stay alive. You take care of her, she takes care of you. Find your rhythm of feeding, starter rising, mixing, fermenting (warm & cold) and baking. Repeat!
Wendy’s Why Sourdough is 100% hydration, meaning equal parts water & flour
King Arthur Flour 50g
Spring Water 50g
Sourdough Starter 50g
Oh it’s fun don’t stress. BTW I learned sourdough is forgiving. If you forget to feed her for a day, she forgives you. But don’t starve her. She is a living organism. You nurture her, she will take care of you.
Over the past 2-years, I have created bagels, pizzas, banana breads, savory breads, sandwich breads, naan bread, etc. But what has been a game changer for me is a Christmas gift from my dad and his wife, the book THE PERFECT LOAF by Maurizio Leo. The above recipe is inspired by his book, beginning on page 41-54.
What Maurizio gave me was an understanding of how my sourdough behaves, the why and how. I love it and have learned a great deal. Thank you, Maurizio!
What I will share with you is my Wendy Whey, how I adopted the recipe, to create my version of the perfect loaf (or what I am naming Everyday Sourdough Bread).
Day 1–AM (Mix Me)
8:00am or so—look at your starter is it bubbly on the top and sides, double in size, puffy looking, smells sour like.
Daily Sourdough Bread Ingredients
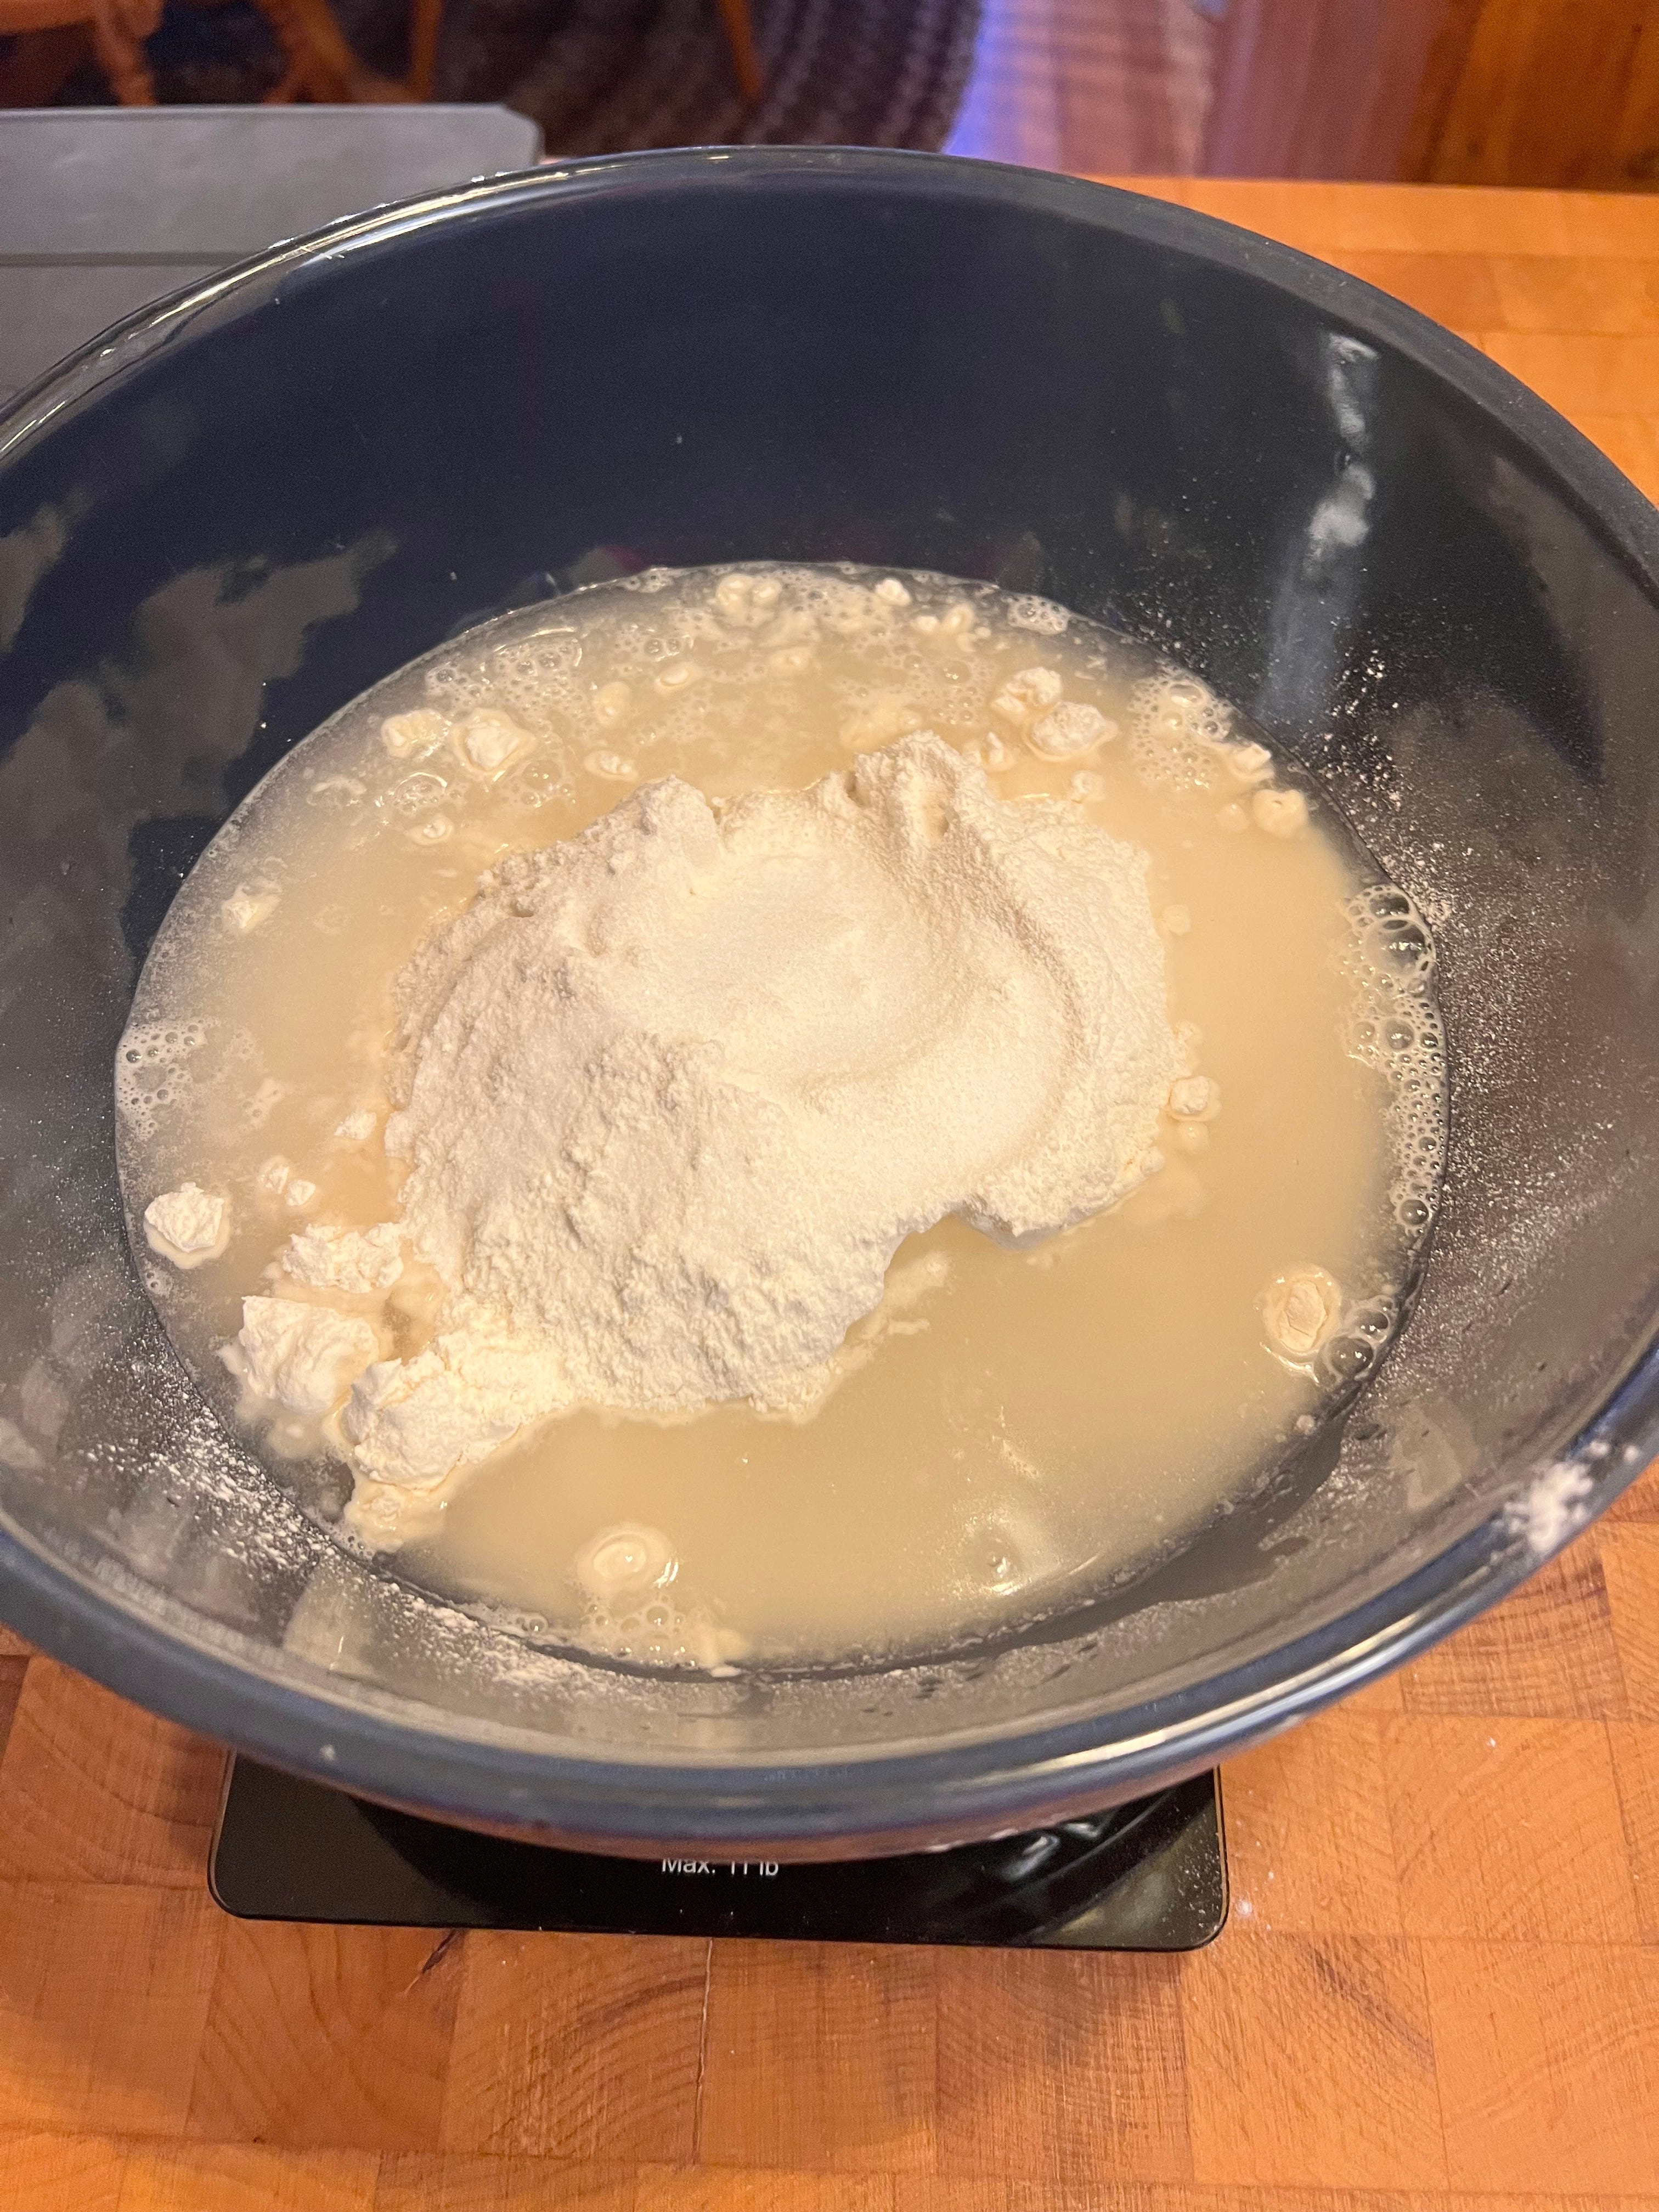
500g King Arthur Flour
330g Spring Water
10g Fine Sea Salt
110g Active Sourdough Starter (bubbly, ripe and ready)
8:00am—mix all the ingredients with a stiff spatula, until a shaggy ball forms, no dry bits left behind.
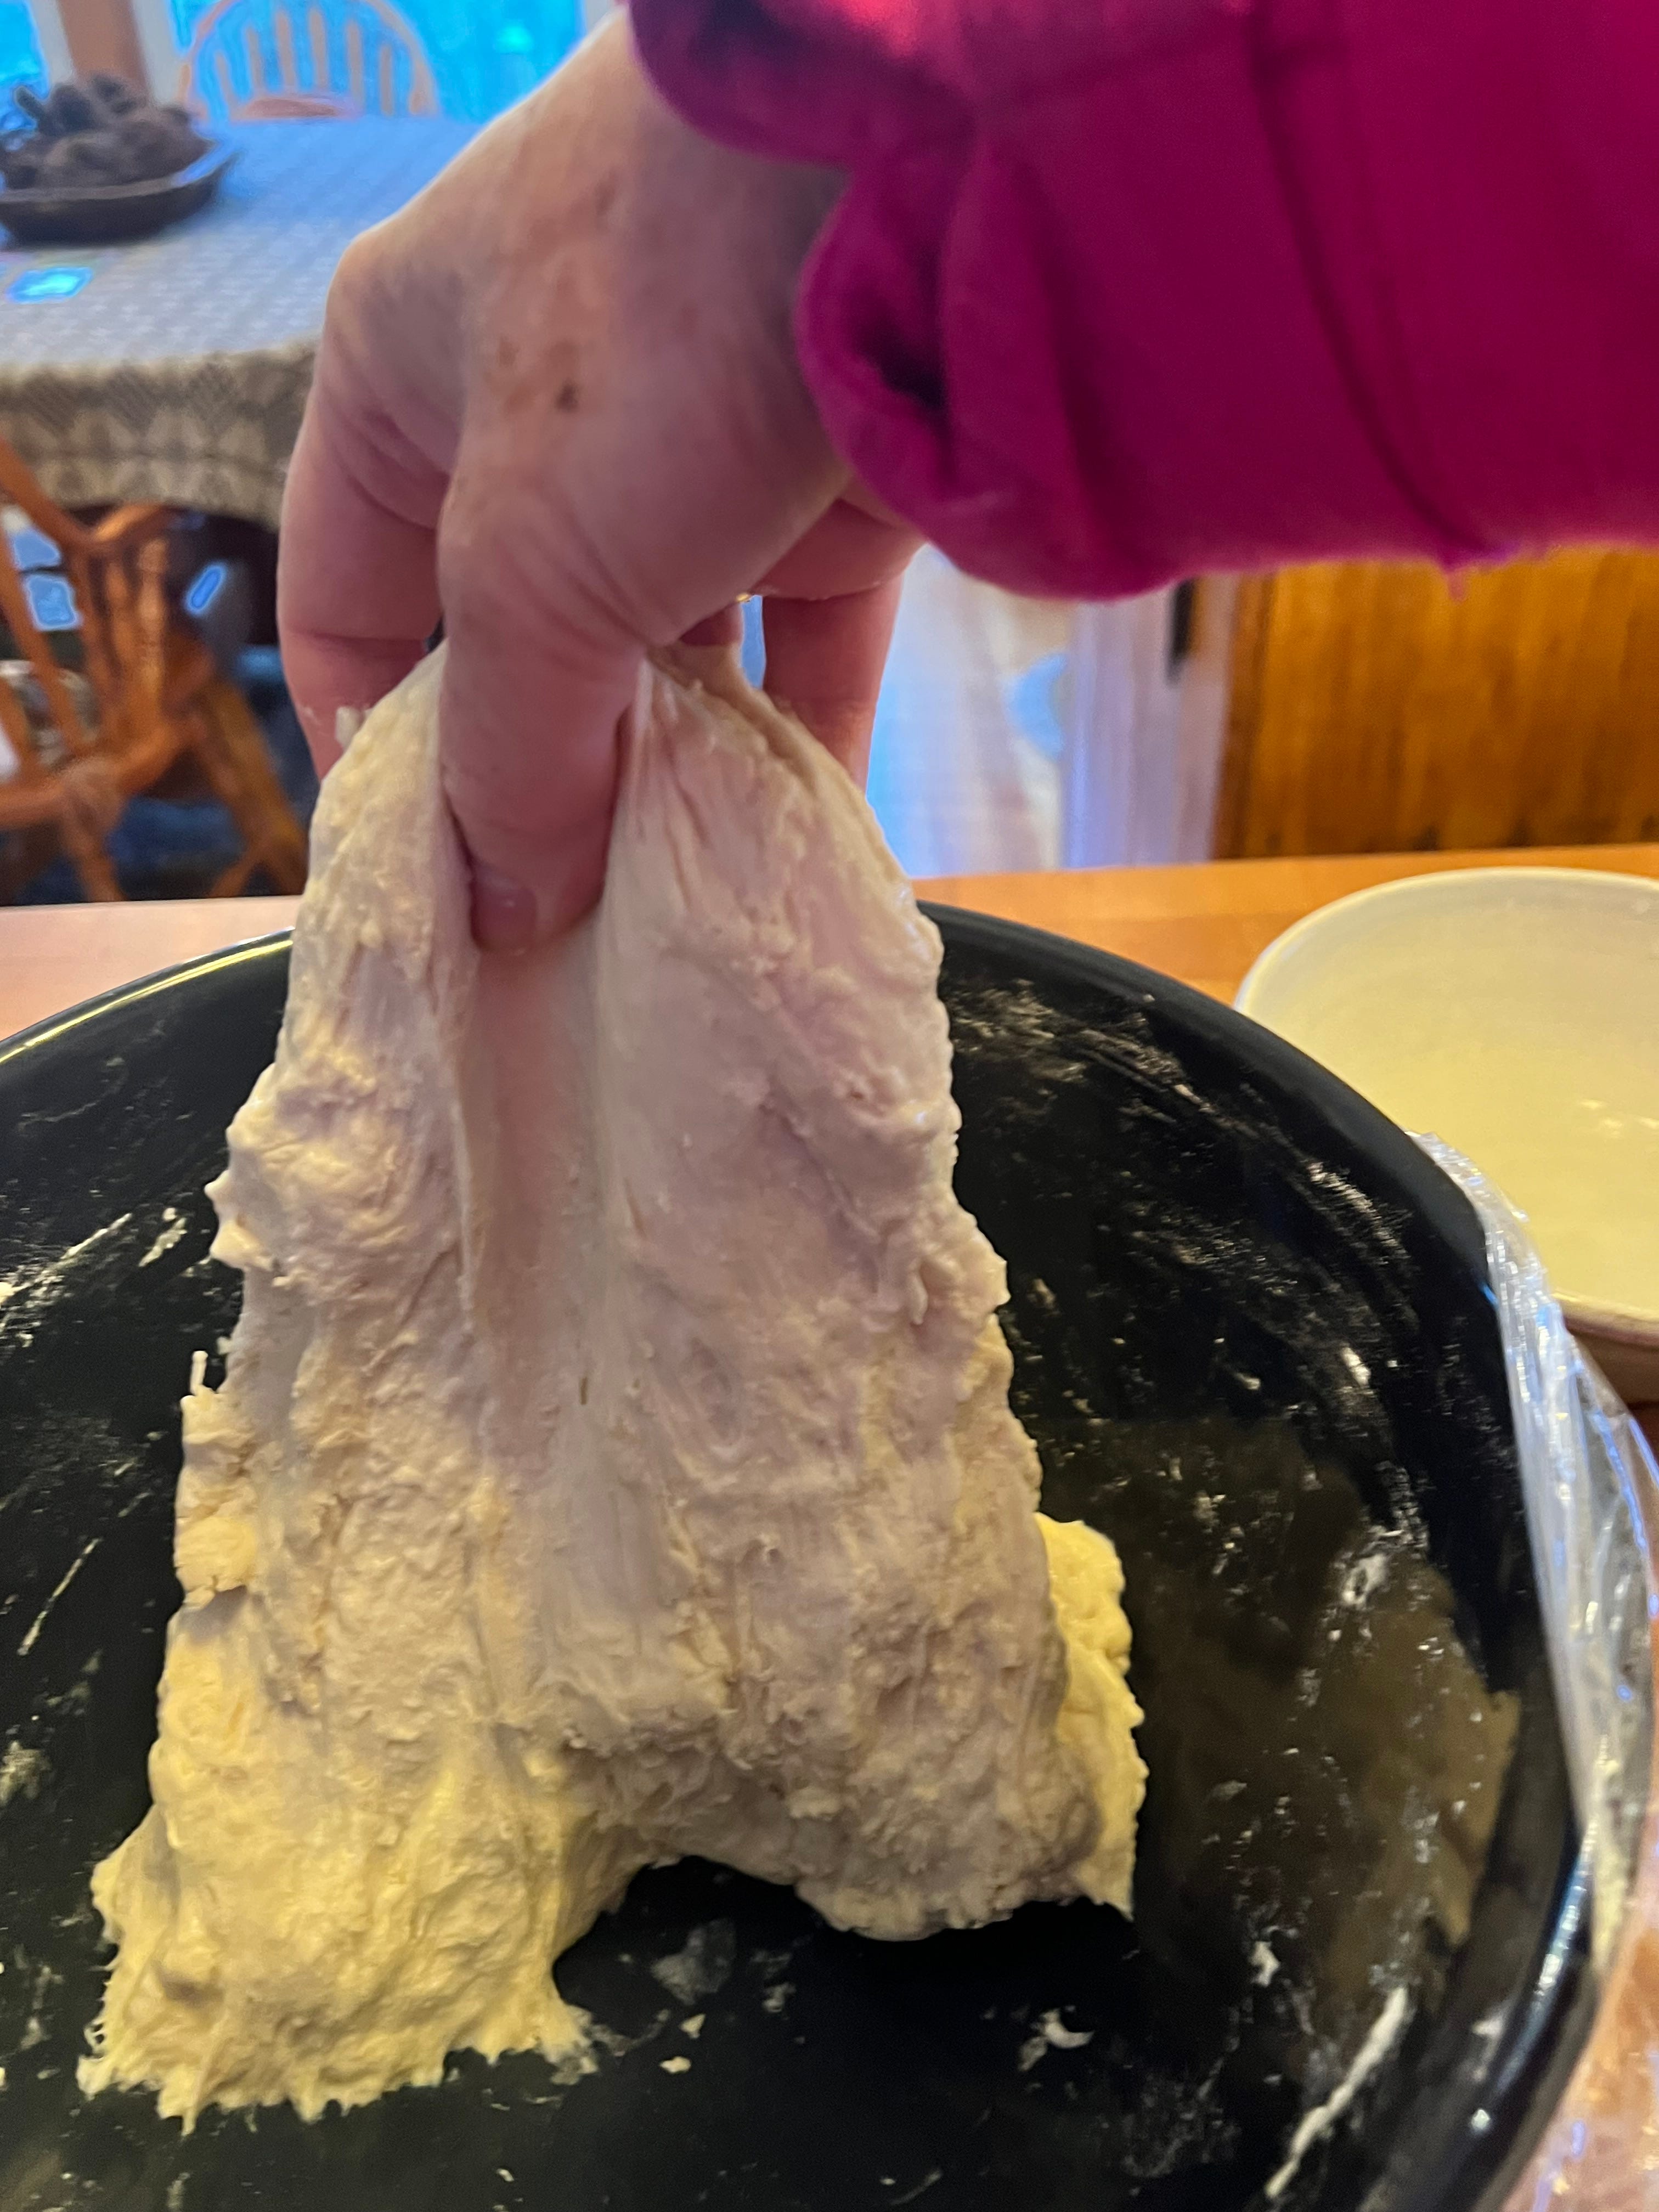
9:45am or so—First set of stretch and folds. This is easy, with wet fingers, if you need, I sometimes don’t. Pull dough from edge up and over itself, rotate bowl by 1/4 and repeat. Do this 3 more times to complete a full circle. Then rest for 30-minutes.
Repeat the stretch & folds 2 more times.
Tip: this was a game changer for me—these steps, helped strengthen the dough. According to Maurizio you can’t over strengthen. I believe this is why my dough scores so nicely.
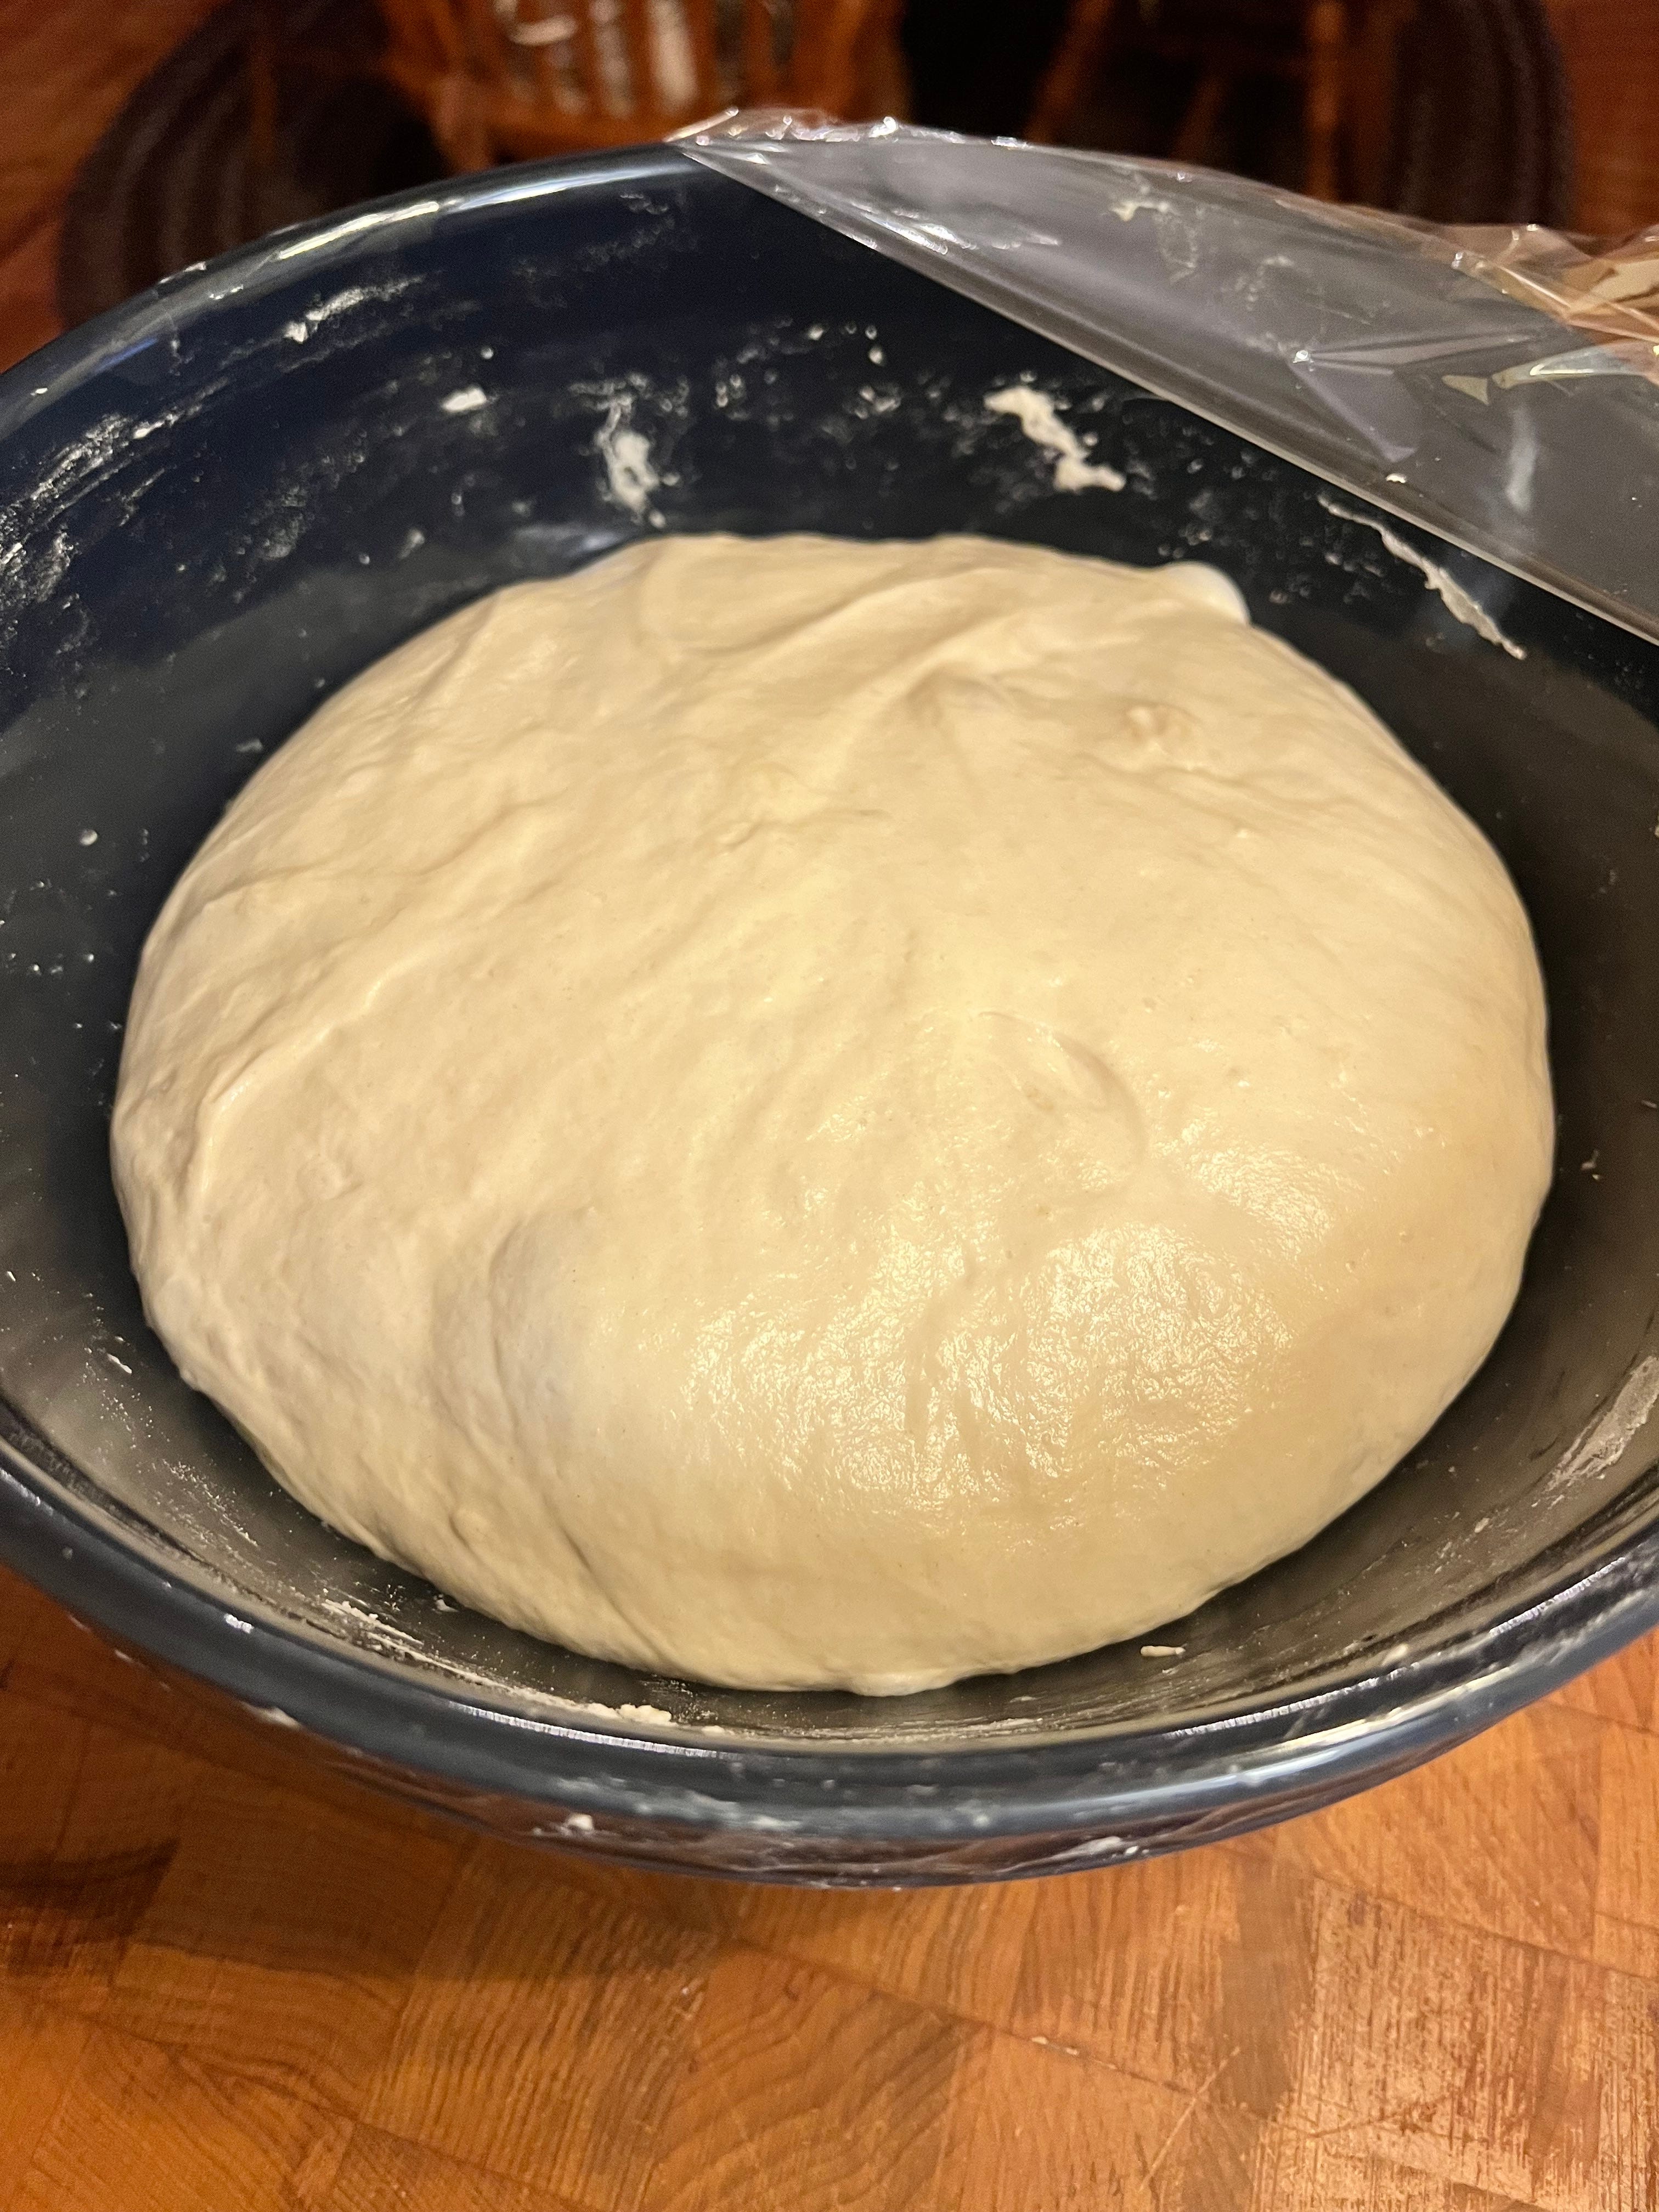
10:45am or so—cover with plastic wrap to warm ferment (first rise). This might take a few hours are more, depending on your home, time of year, etc. Your dough will be ready to shape when it’s spread out, expanded in size, looks smooth puffy, edges are domed, and some bubbles may appear.
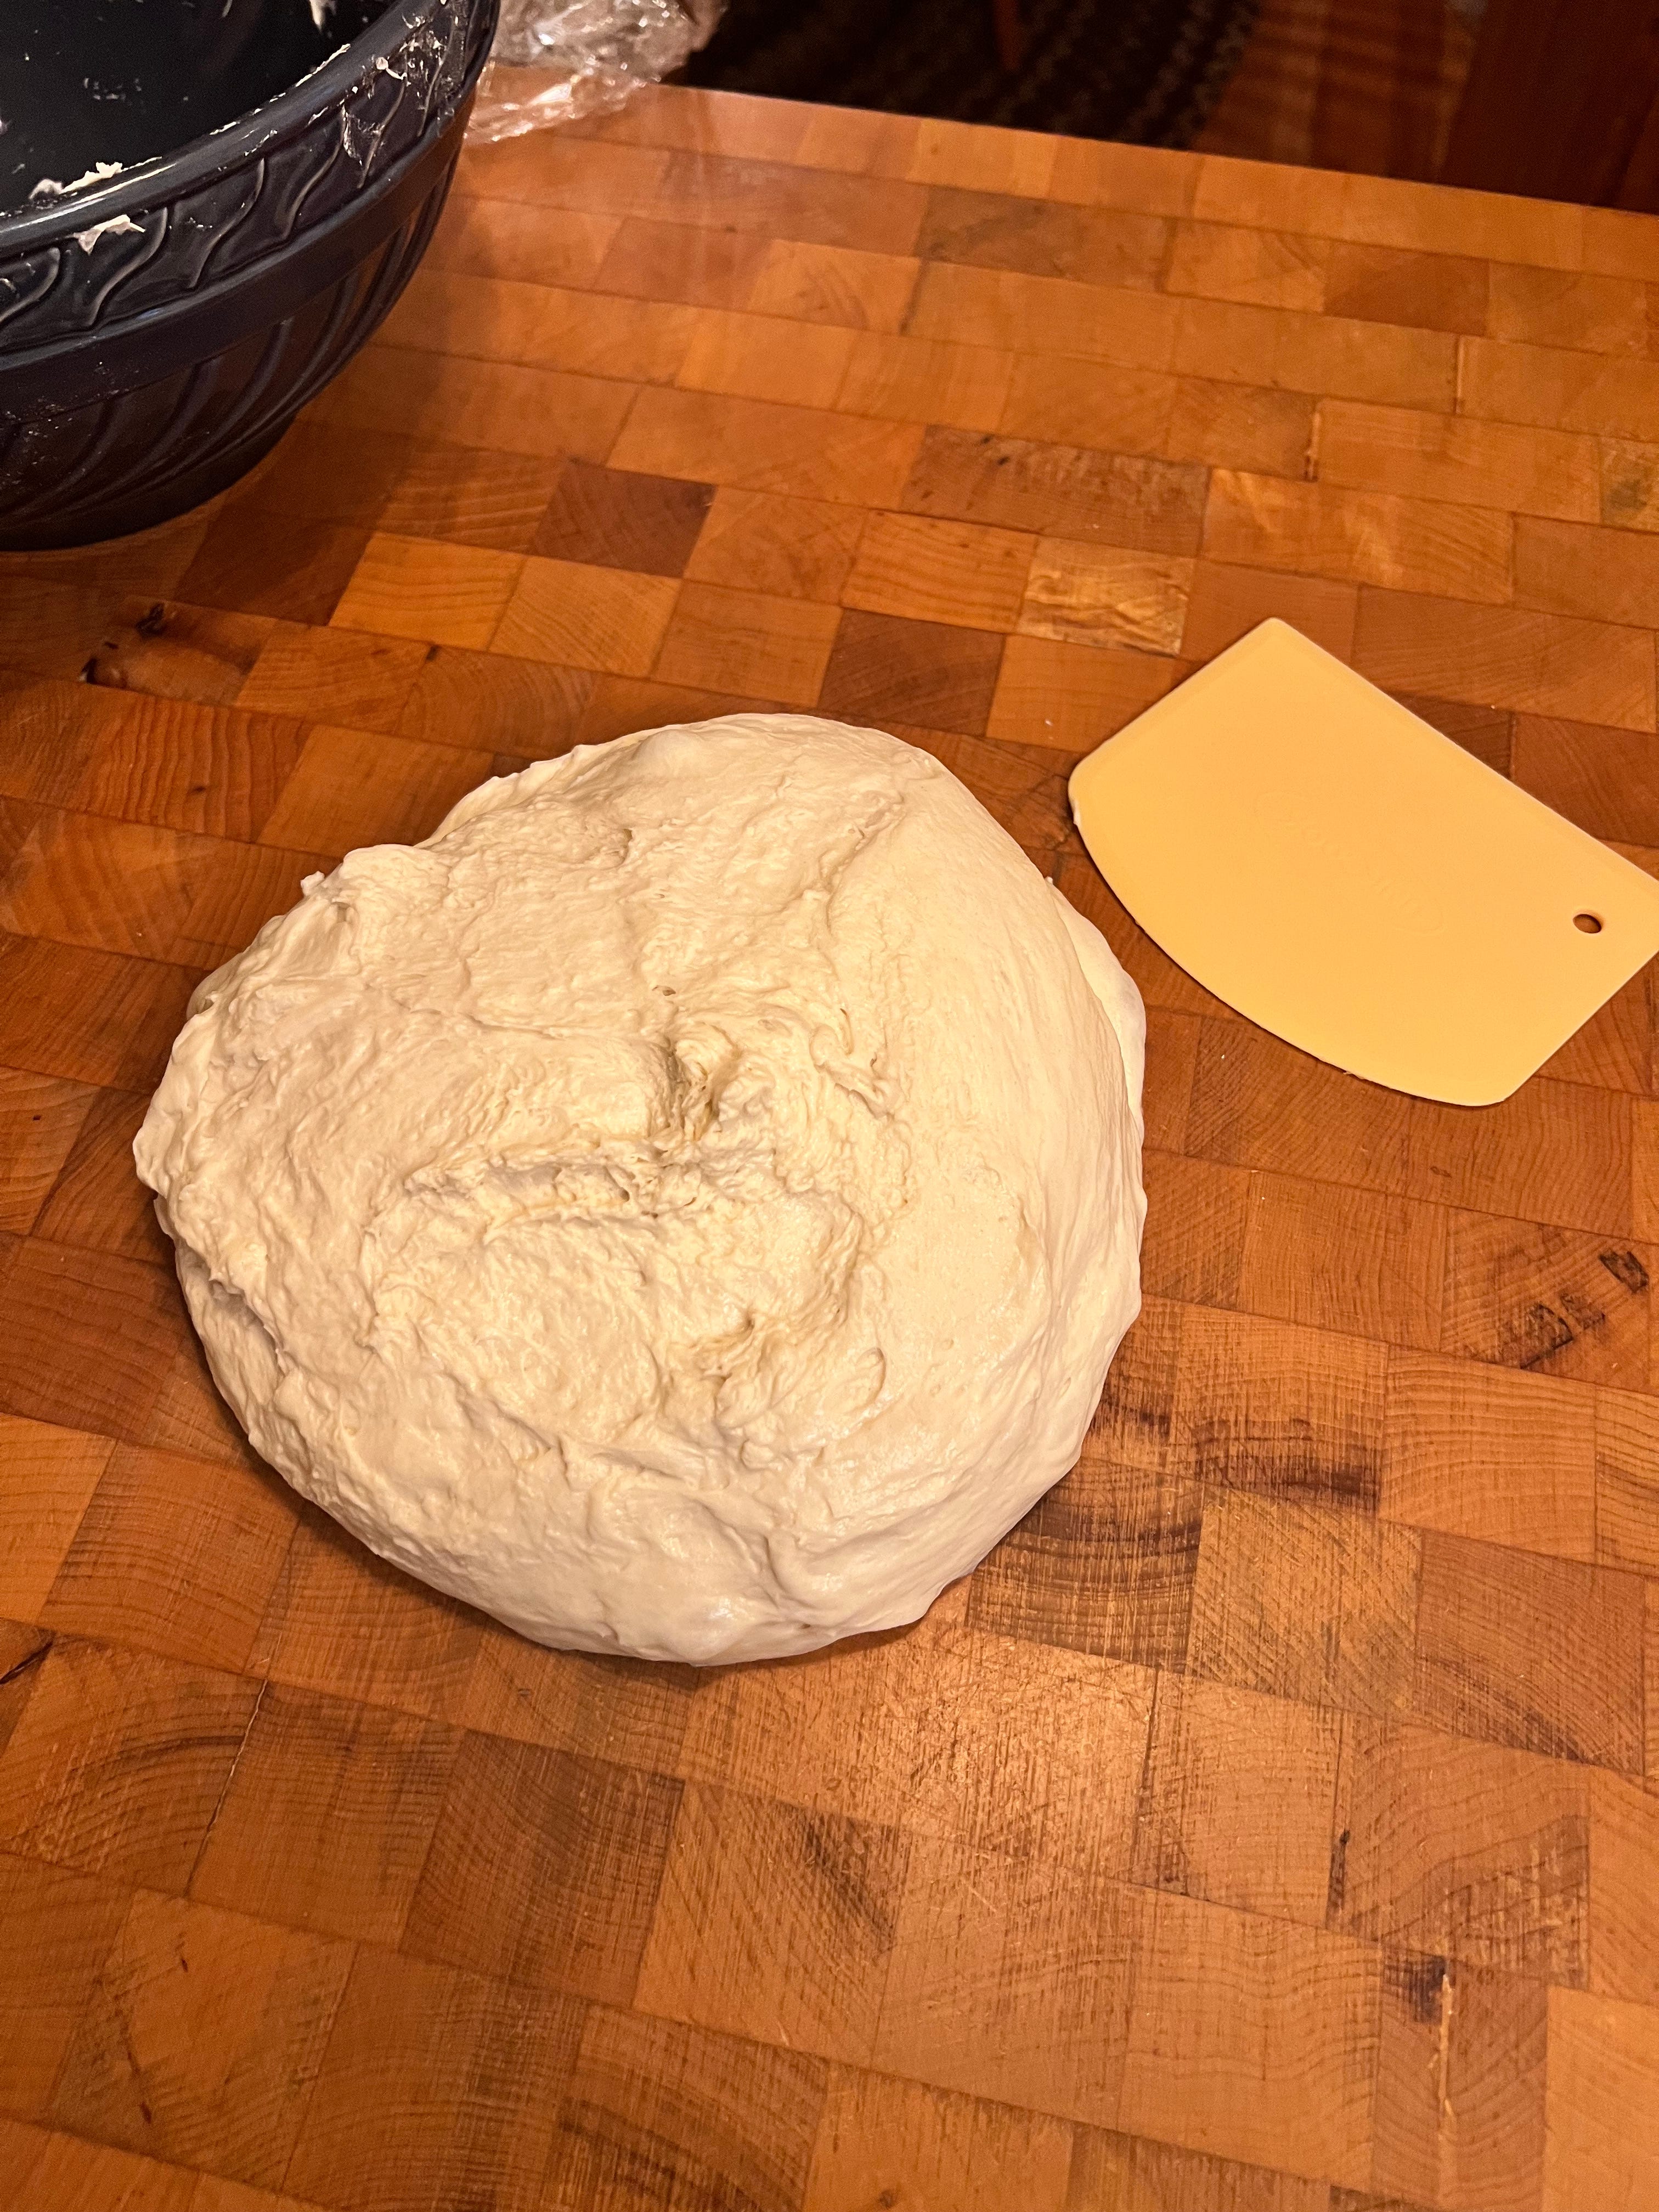
4:30pm for me. It’s winter 🥶 my house is cooler. Turn dough out on counter, loosely shape into a ball and let rest for 30-minutes uncovered.
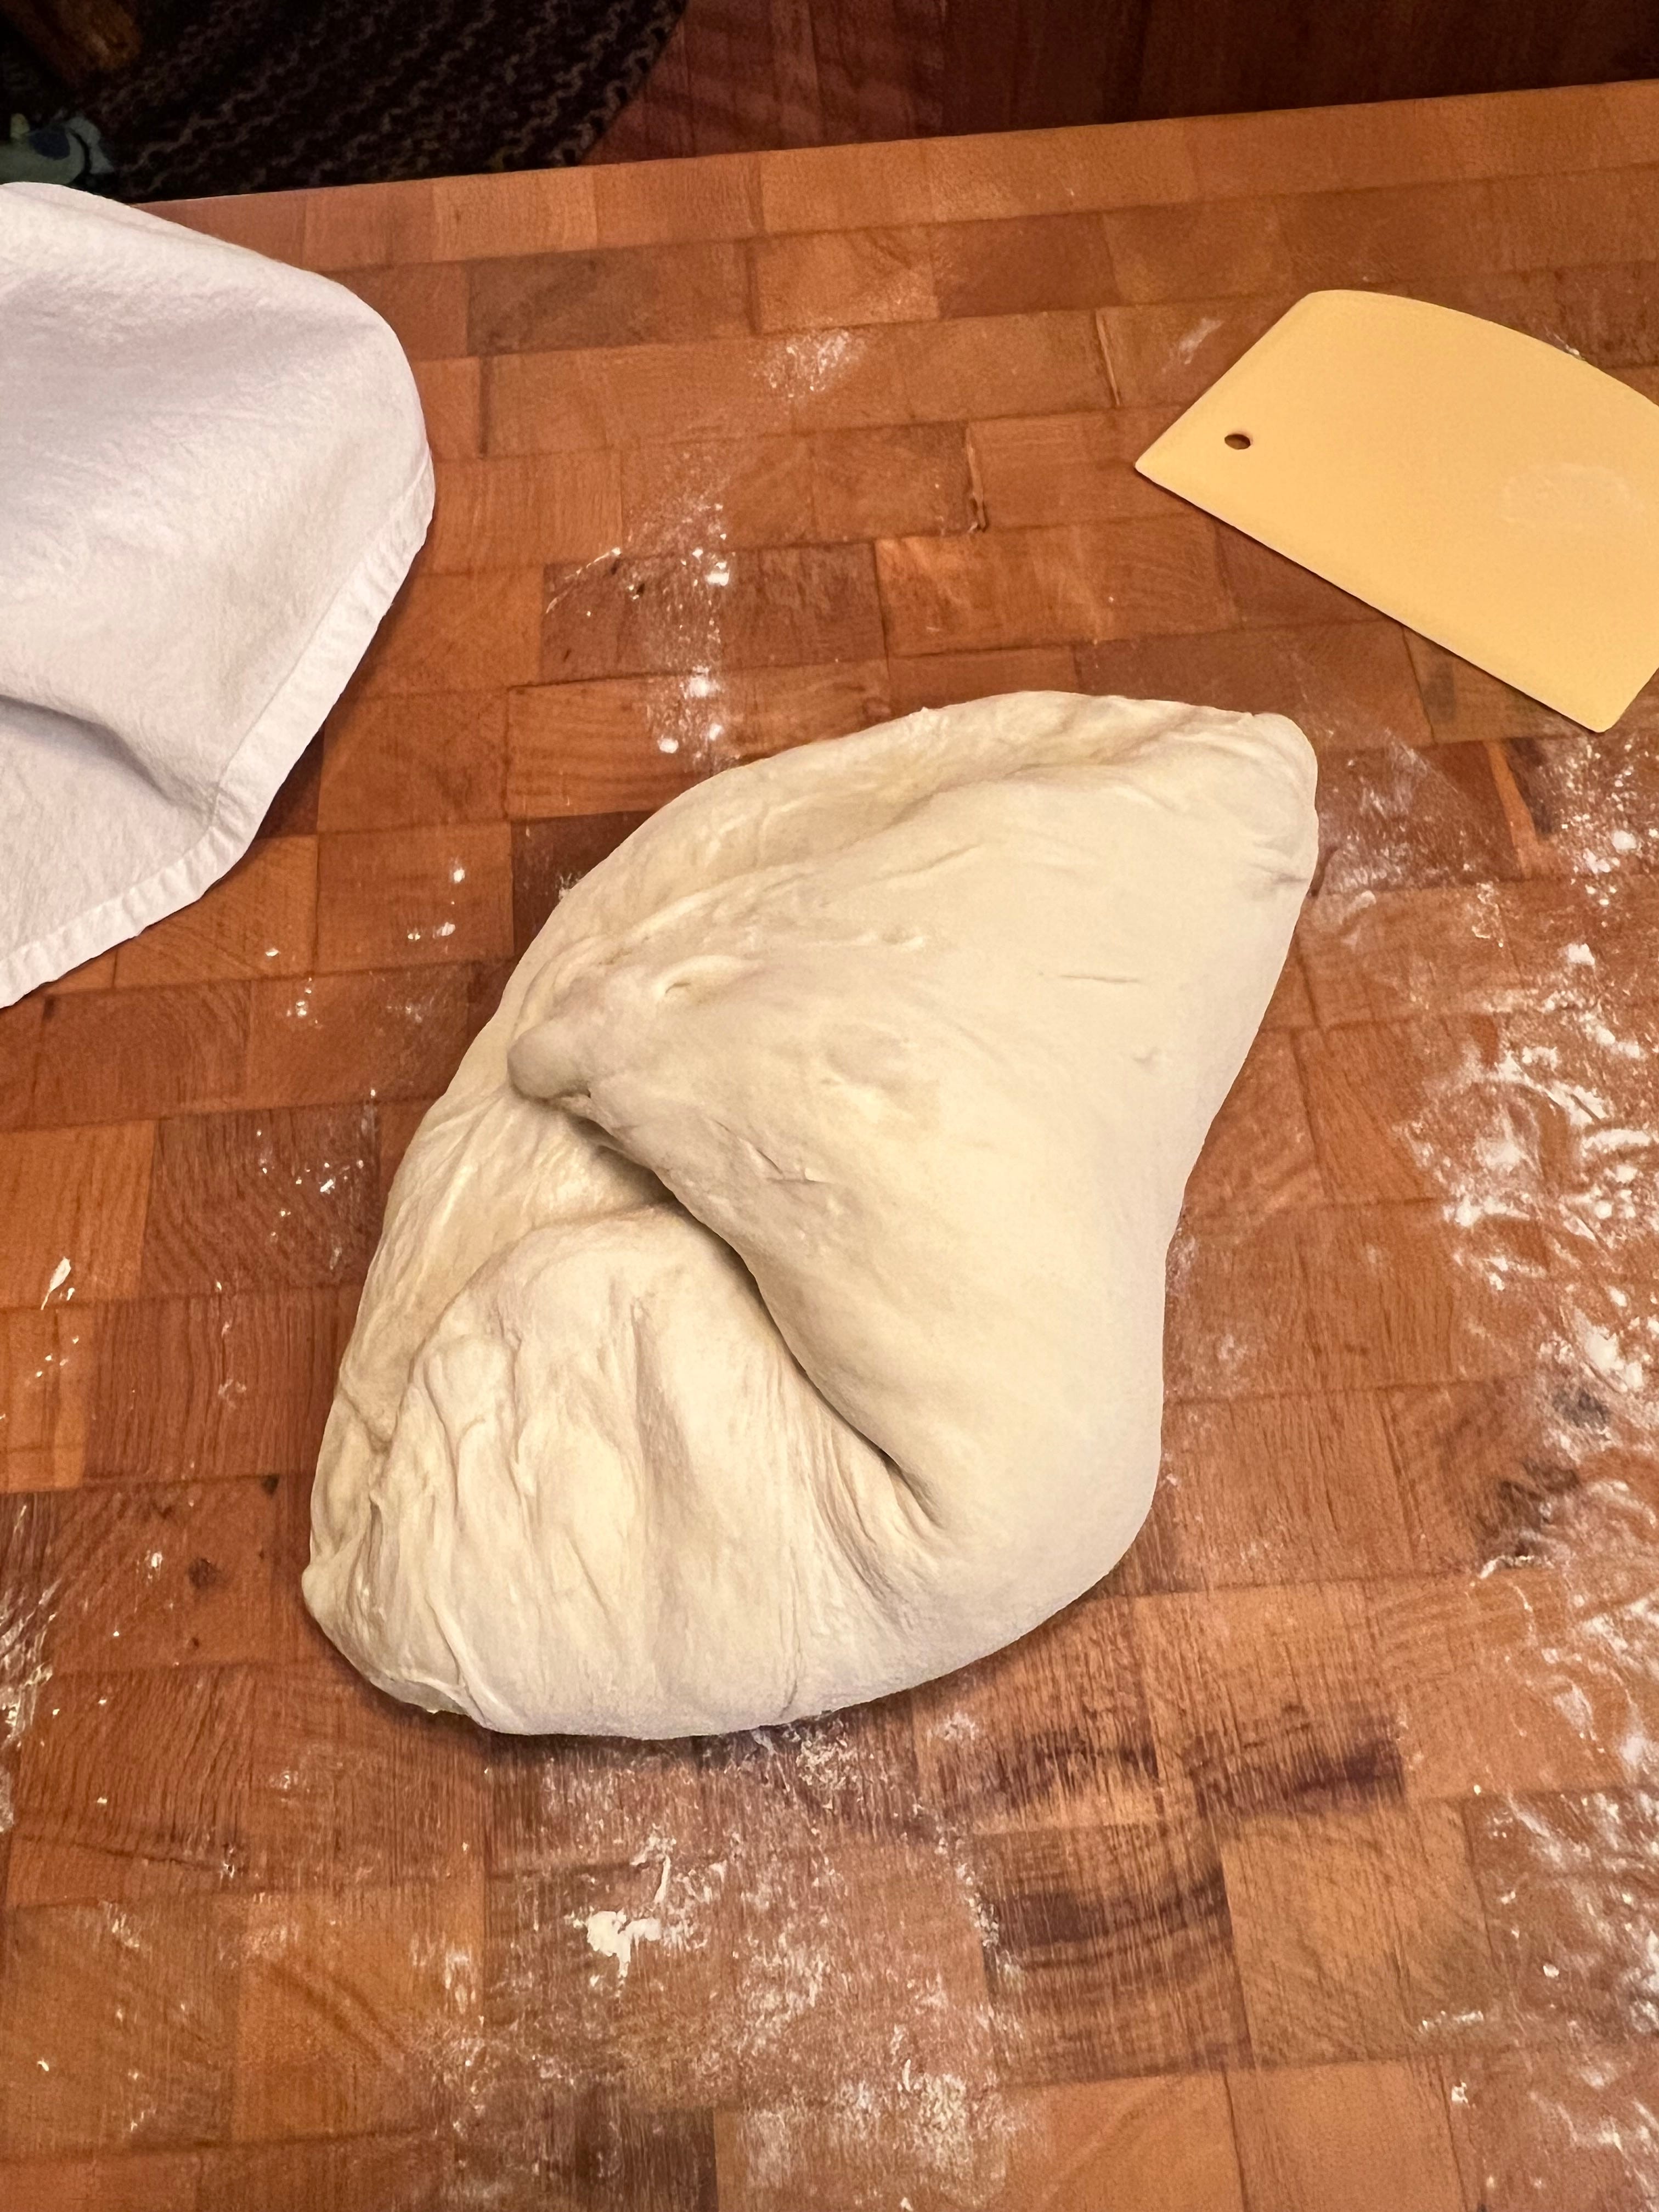
5:00pm or so—shape me into a nice tight ball.
1st dust your surface with flour
2nd stretch dough out to a round—like making a pizza
3rd fold right corner into the middle, press
4th fold left corner into the center, press
5th fold top over to the bottom edge (turn over and pinch, you should have a ball forming)
6th seam down (rotate pulling loaf back and forth towards you, this creates a tight outer skin) Tip: less flour on counter keeps a tighter forming ball.
Why cold ferment? #1 reason for me is the longer fermentation benefits anyone who has gluten sensitivity. The science behind it breaks down the gluten)
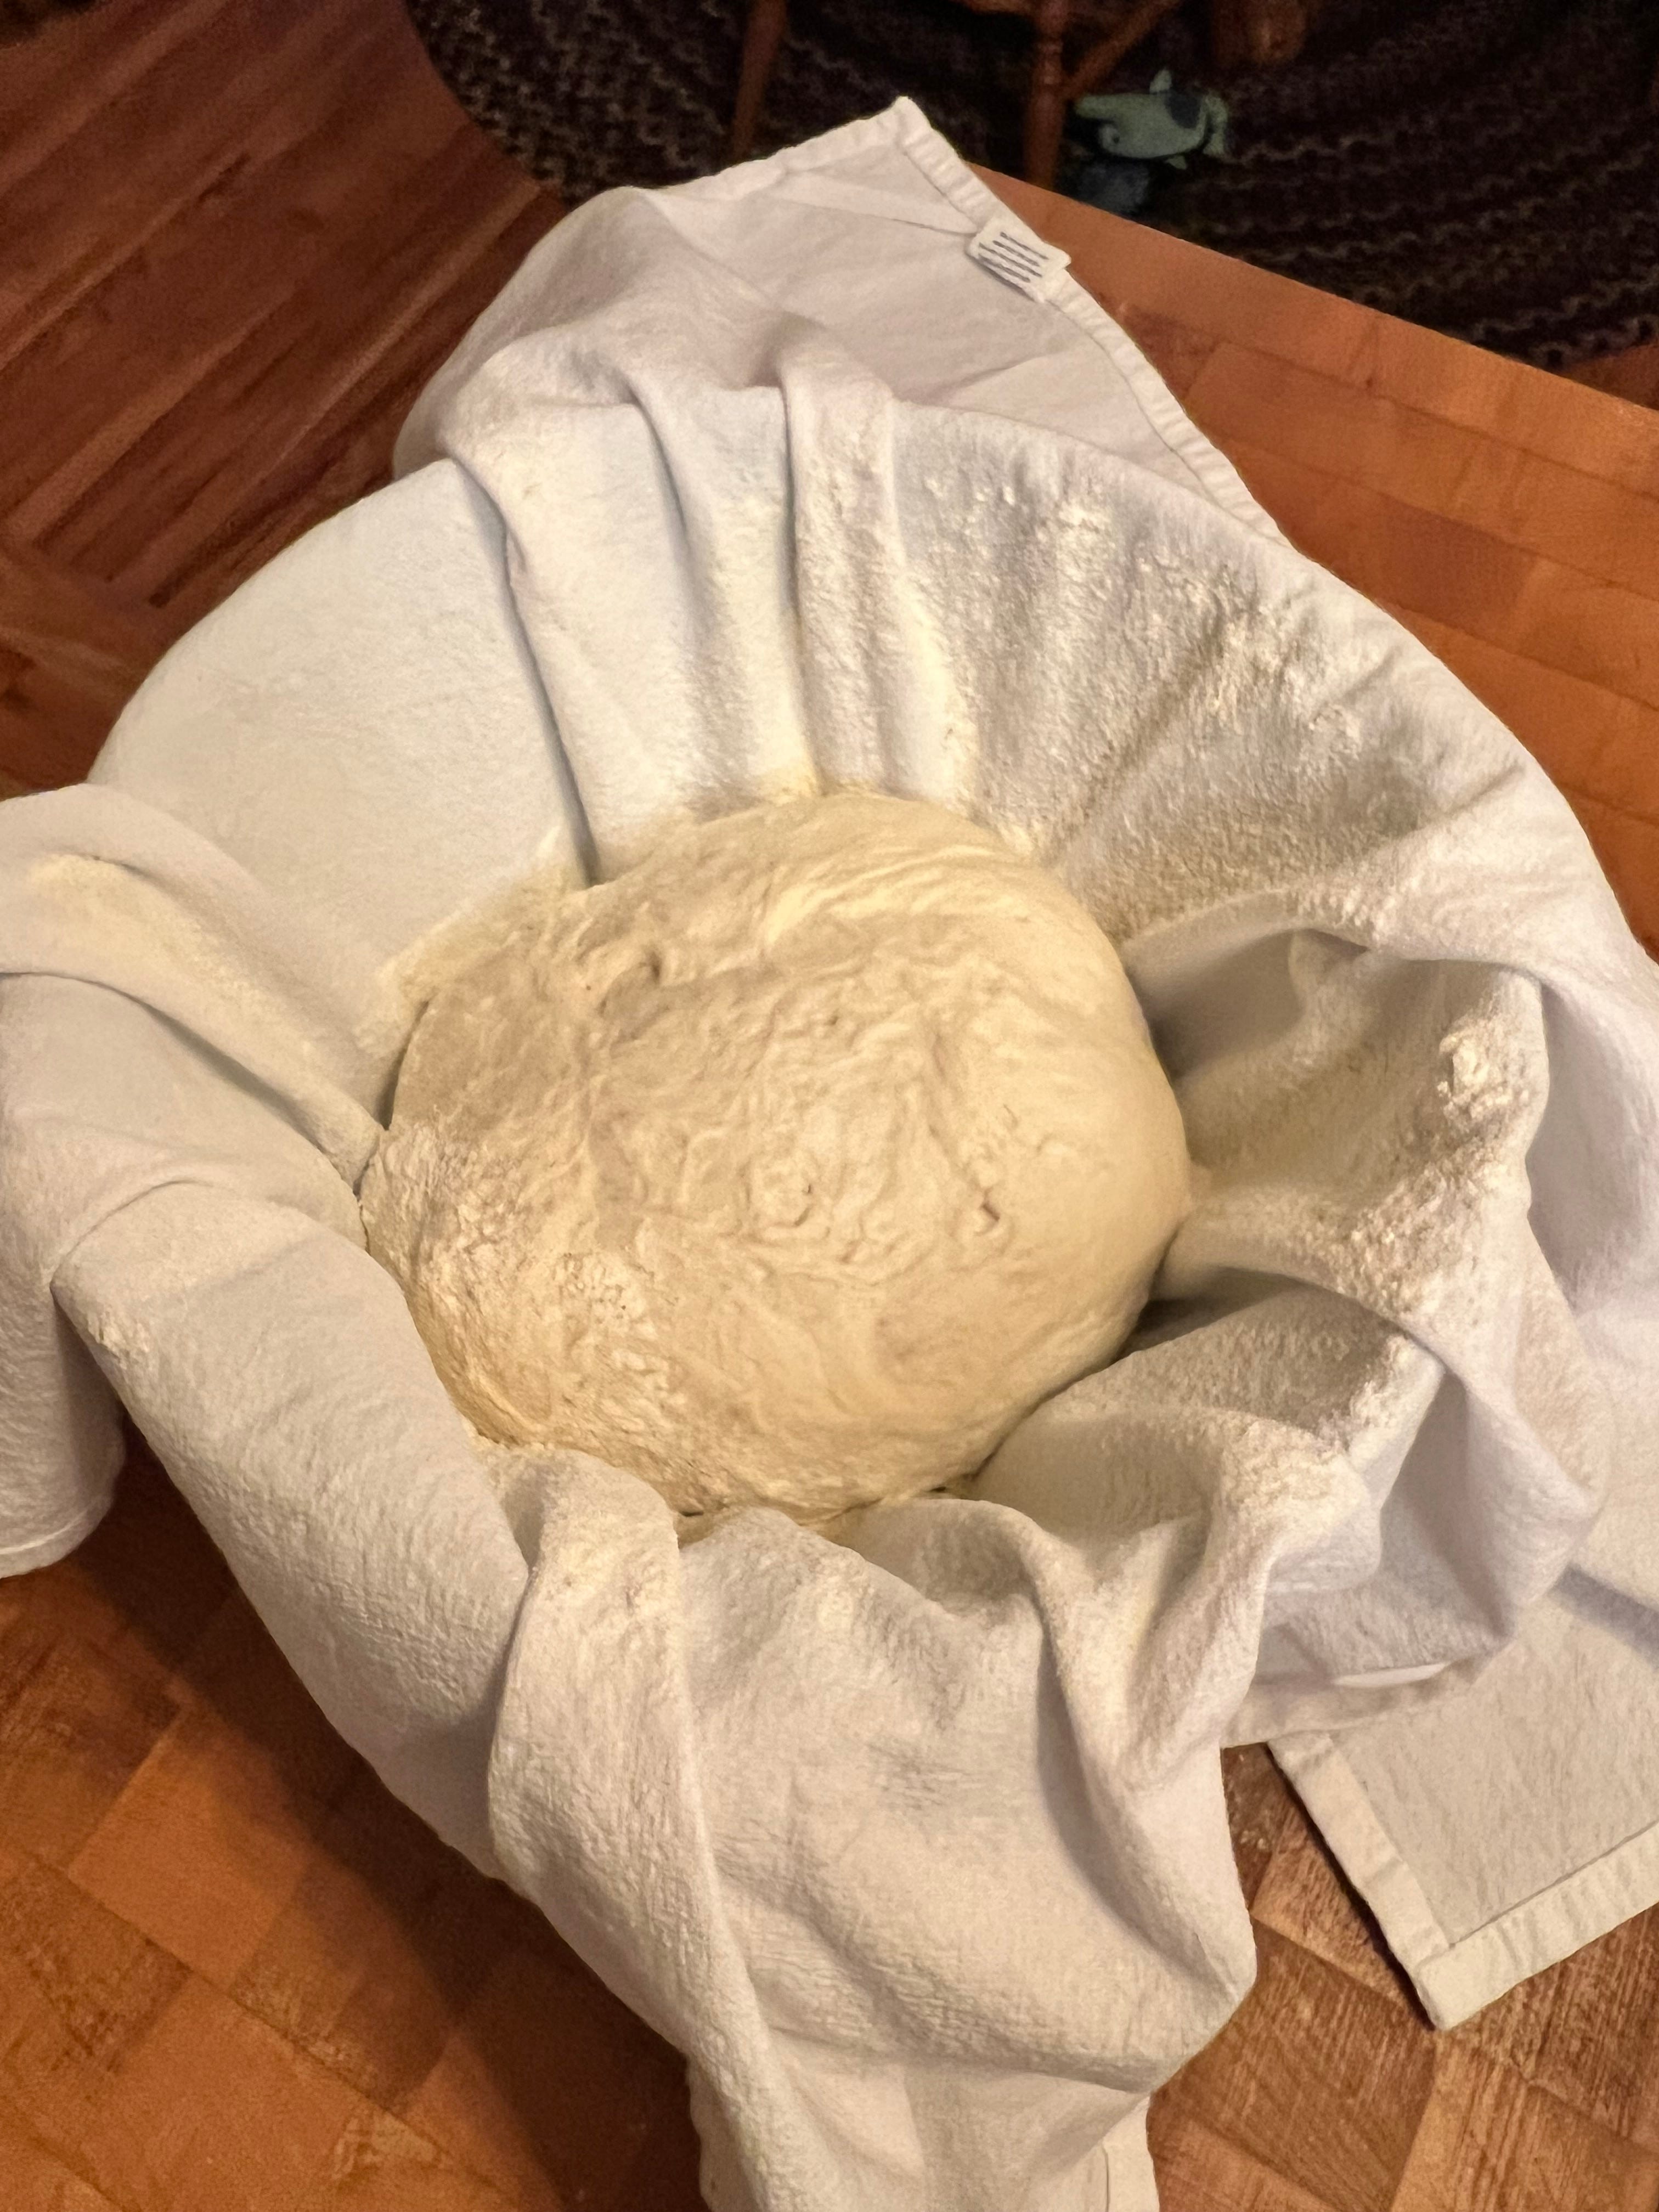
I don’t have proofing baskets, so I use bowls lined with linen tea towels, generously flour inside (so your dough does not stick), carefully transfer your shaped round dough seam side up, place into bowl. Cover and refrigerate overnight.
Tip: Try a Turkey Roasting bag, place bowl inside, tie up ends. It works great!
Day 2: Next morning—Bake!
8:00am—preheat your oven to 450 degrees F (place a Dutch Oven—I use an 8-quart enameled cast iron, in the oven to preheat too). Tip: this step makes a huge difference; it creates steam and fantastic crust.
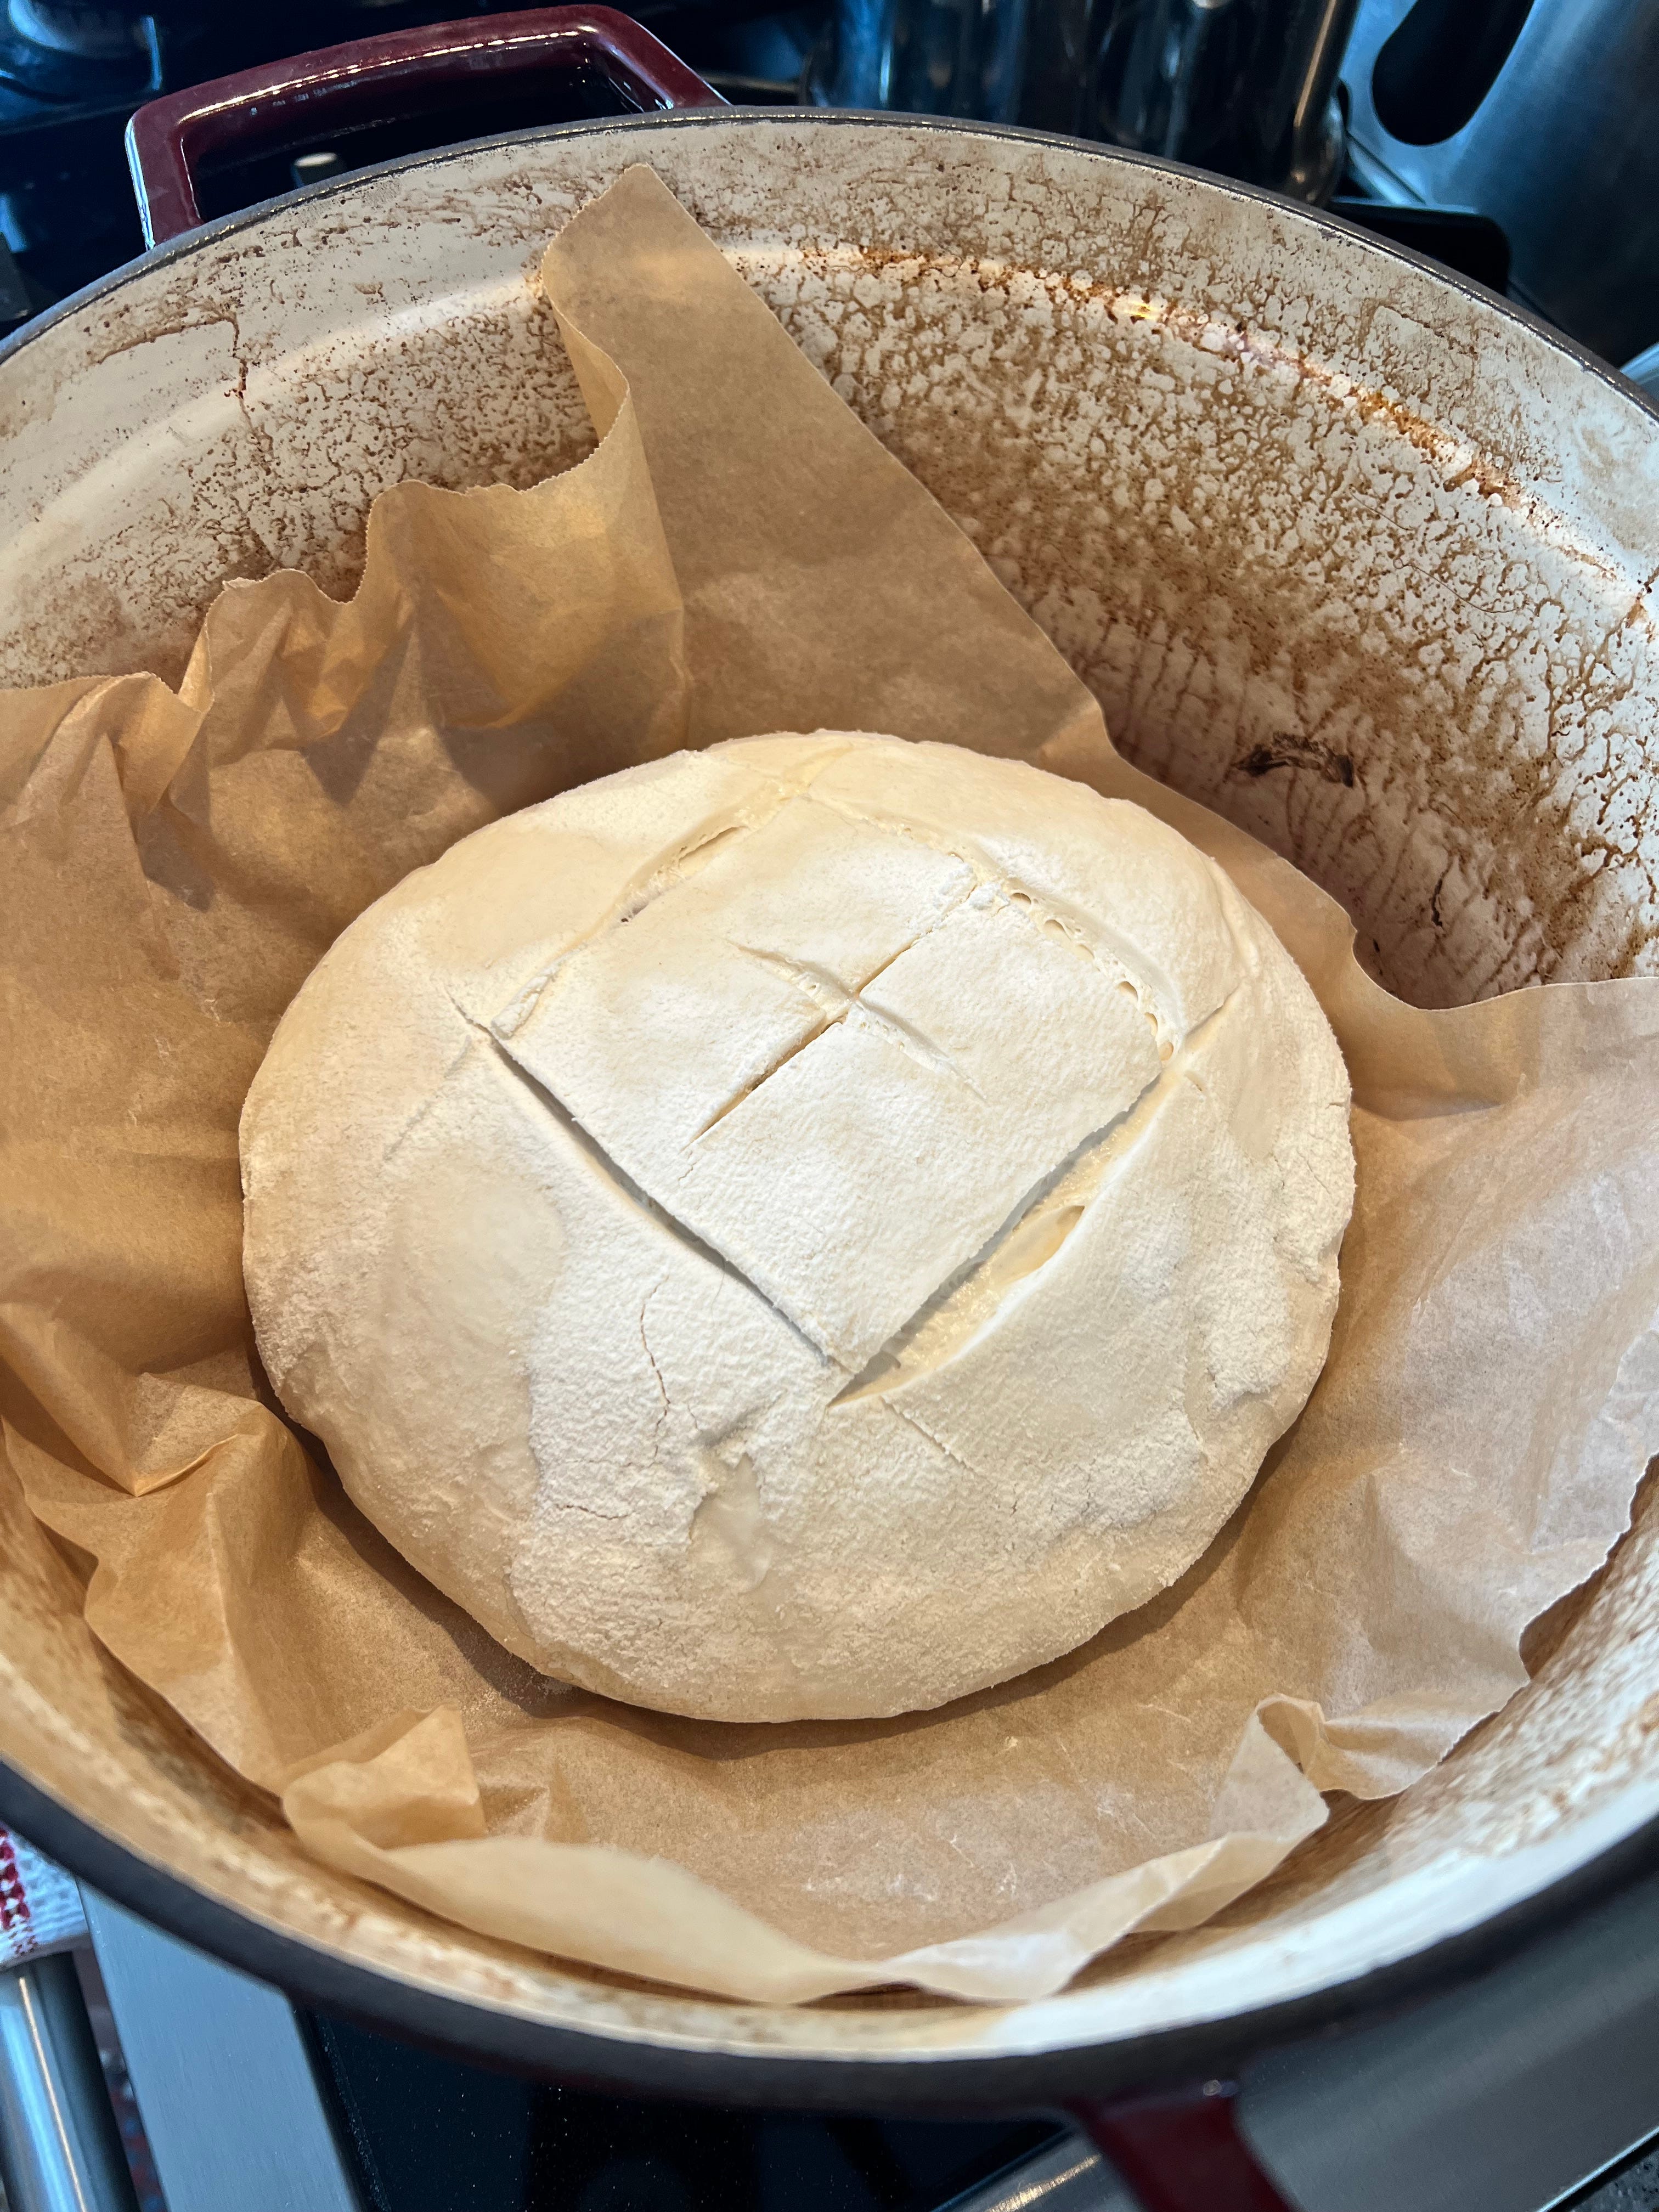
9:00am—carefully take your loaf from the refrigerator, cut parchment paper to size of dinner plate, top the parchment paper over dinner plate, put that on top of your bowl with the bread—flip. Your loaf should now be on the dinner plate.
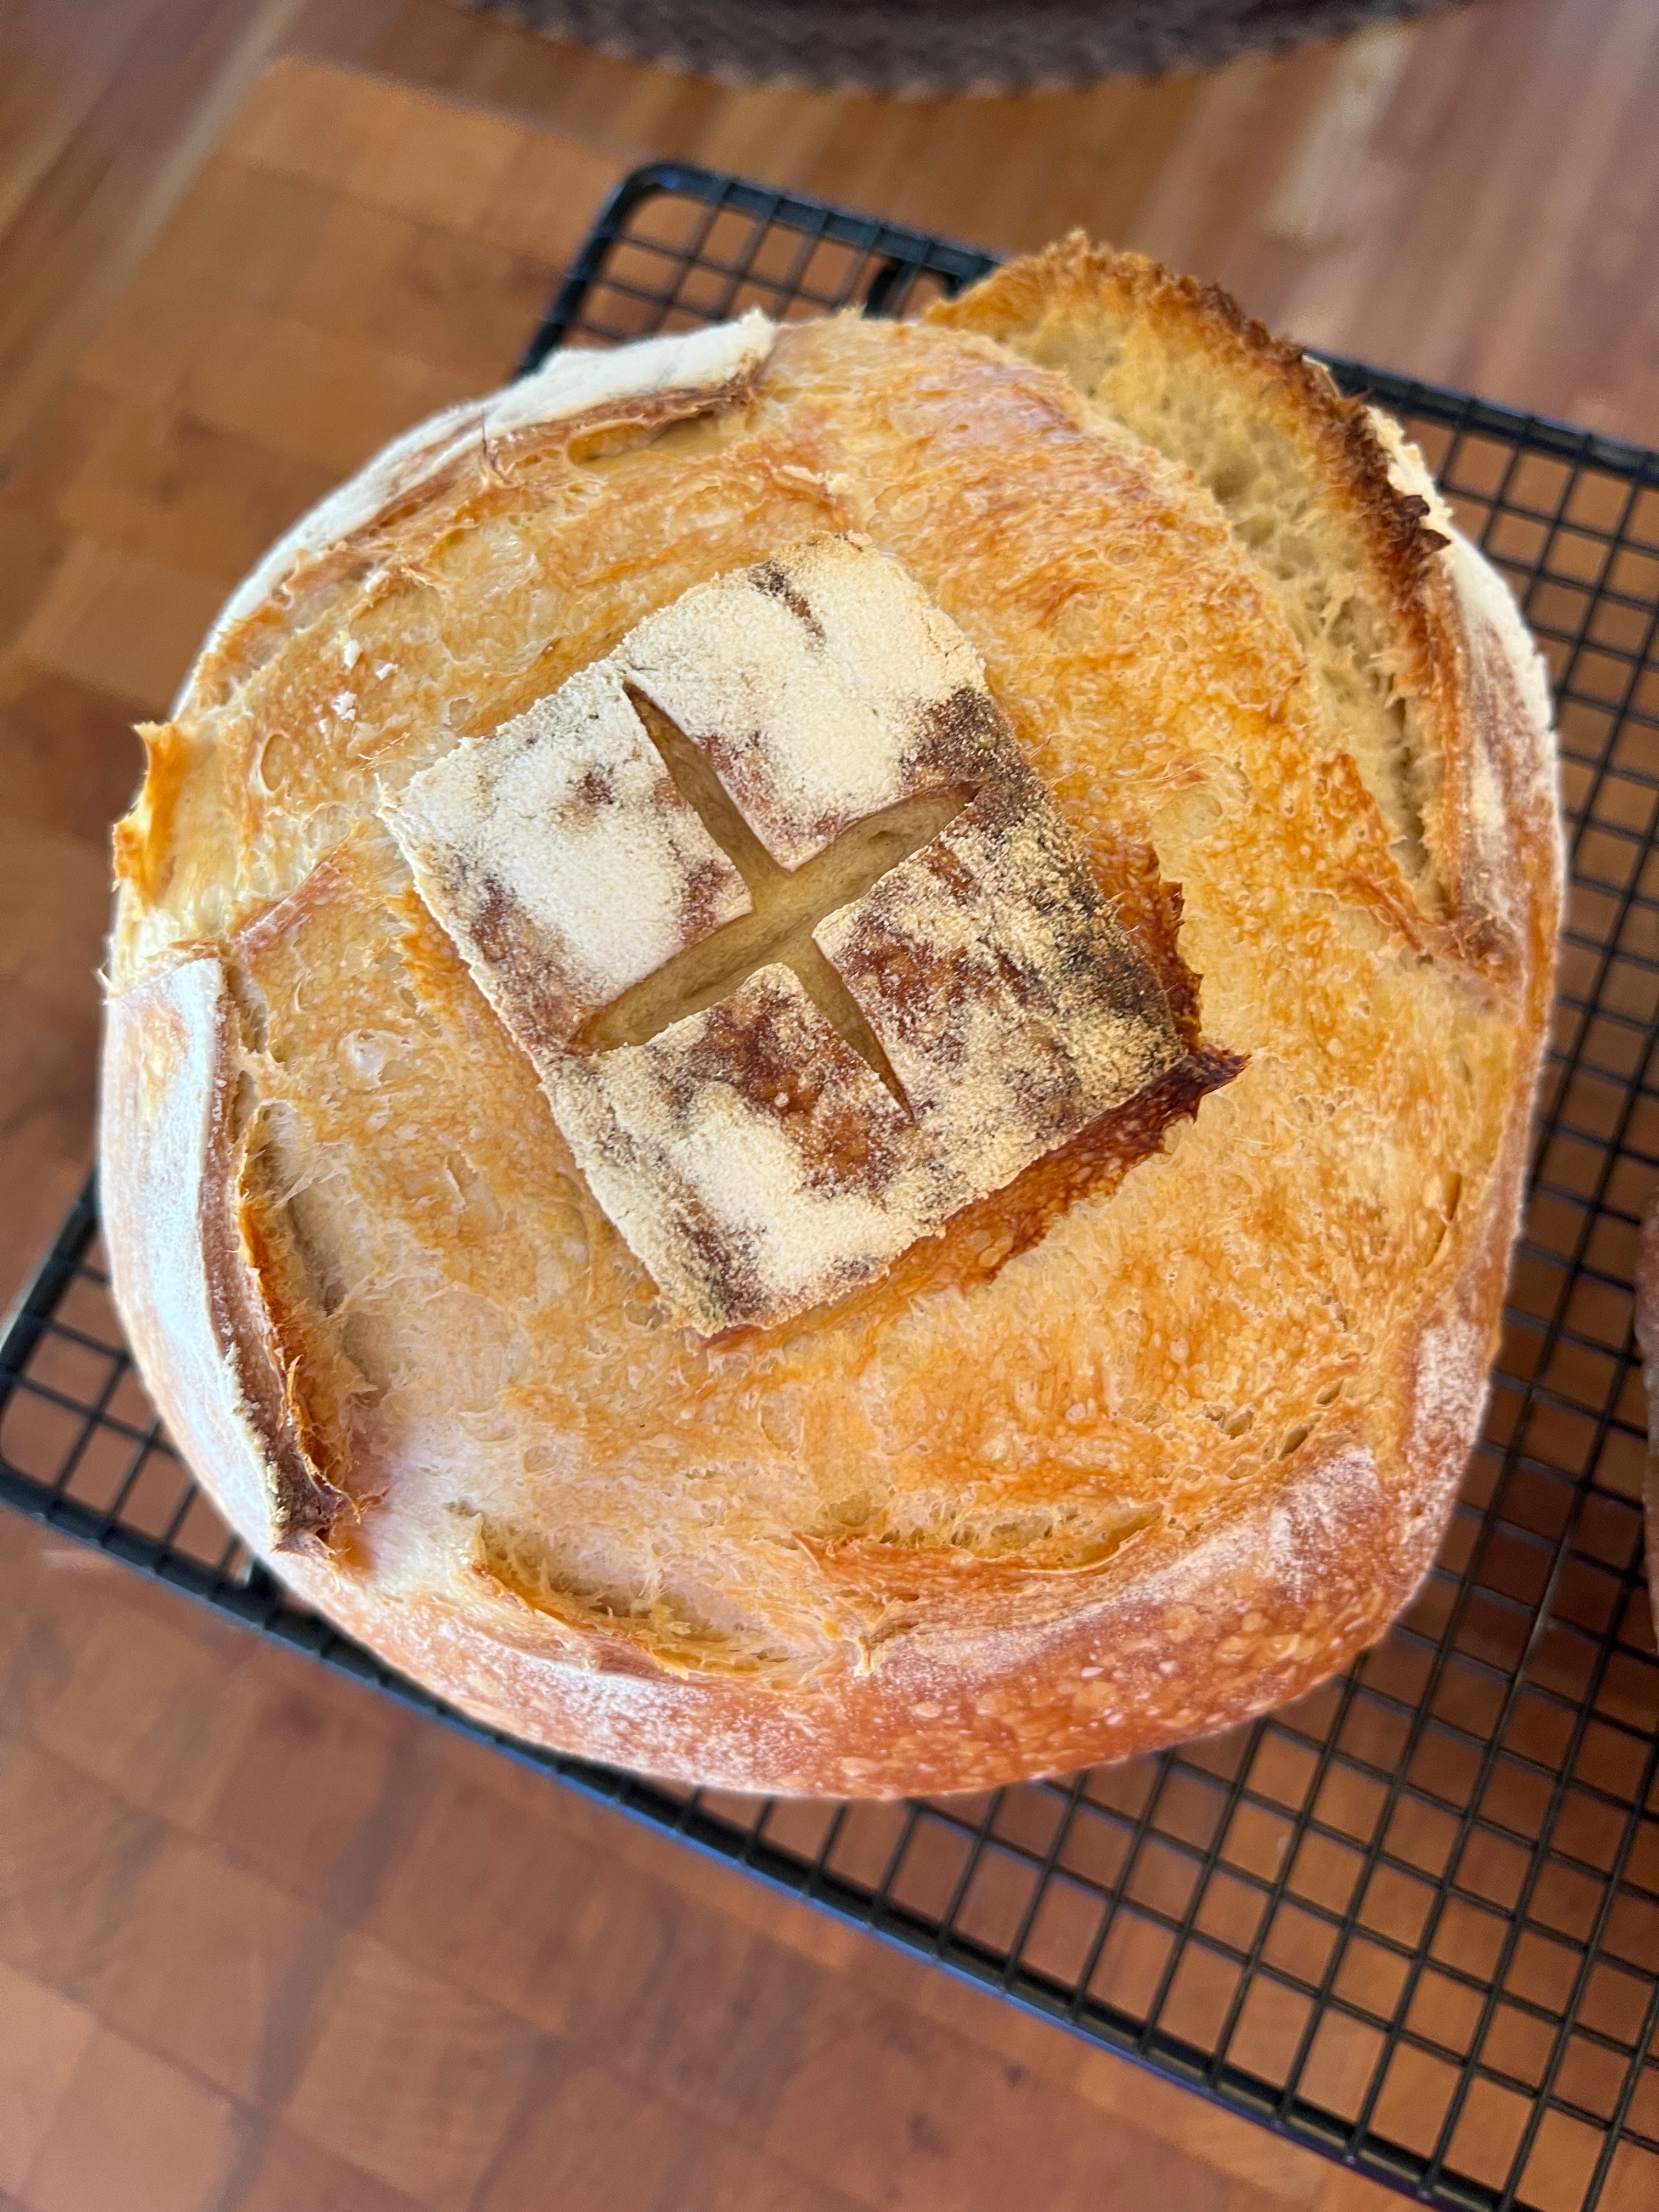
Score—I use a tomato knife, works great. I like to score outer edges with a cross center.
Tip: My best loafs are baked directly from refrigerator, scored and placed in a cast-iron Dutch Oven. I believe the cold, then hot creates a beautiful rise and crust. No special steaming required.
Bake for 20-minutes at 450 degrees F with the lid on. Remove lid and bake for 30-minutes until golden brown and internal temperature is 206-210 degrees F.
Cool on a wire rack for at least 1 hour or more.
You can freeze your whole loaf—cool completely, place in a freezer plastic bag with a paper towel. When ready to eat—defrost in the plastic bag, may take 3-4 hours. Then slice as usual. I also slice prior to freezing, easily pull a slice out and toast for breakfast, yummy.
Time to Enjoy! 😉
Hope you enjoy some homemade Everyday Sourdough Bread. Stop buying your bread and start creating your own. It’s worth every minute of it.
Life is GREAT! God Bless!
Wendy 💕


This looks so delicious!!! Thank you!!